

Category Archives: Project

Bow Teak repairs
Pleased to be able to repair damage to the bow of Alhambra. Damage caused during the Mankhut major typhoon.

Next task – shaping time.

THS G8 Seaweed Farm Design, Build & Deploy
Bow Bedroom Bettering
I suppose the first thing to address is: is Bettering a pretend word?
I don’t know, I get it, and I bet you do. So we are all good.
This tale is about the bettering of Alhambra’s Bow Bedroom.
Not unusual on a boat are nasty termite annoyances. Sadly the Bow Bedroom became a mild casualty of termite lunacy.
A project to end the termite and repair the resulting damage began.

Naturally, this starts with termite extermination.
Thanks to Pest Guy and a nine-month plan, we have been able to stop the colony’s wood-eating frenzy.
Termite dining damaged wooden support structures underneath the Bow Port room floorboards. The feasting had also eaten away at the storage cabinet’s lower surface.

Though not massive damage, it was enough to become quite the challenge.
To help clarify my path forward I crafted a few repair sketches – thanks Noteability.

In addition to repairing the floor and wall the hull storage underneath the Bow bedroom required a tidy up.
We rearranged the stored content into 15 plastic storage boxes. Each with dehumidifying bags stashed inside.
Much better.

No longer weak 🙂
With the hole in the port side wall filled with fibreglass, sanded and repainted and the replacement underfloor support timber sealed firmly in place. It became time for new floorboard sections to be crafted and placed.

Painted, sealed and ready for new floorboards to be cut and placed.
Exciting to have the floor restored to a stable condition.

The termites had actually eaten the original boards.

Sun Hing Shing.
SO thankful to Eric from SHS.
I am pleased to show that the boards were cut, placed and varnished with three coats of International varnish / Satin finish.
It’s good to know that the corner section of the room has been returned to a quality level.

With that done it is time to move onto the room lighting, curtains and window sealant.

From the skip to upcycled furniture – THS Gr 8
The Harbour School’s grade eight students were required to design and build rooftop furniture from an eclectic collection of wooden pallets.

The Foundry ‘Intensive’ project focused on developing leadership, design, engineering, social knowledge and skill.


Two students represented the grade level meeting with teachers to clarify project details.
Four teams crafted two seats and a table whilst the fifth team created the cushions for the seats.

Teams had to communicate their individualised product dimensions to the cushion team on time to allow enough time to cut, sew, zipper and finish all seat covers.

Teams designed, selected, measured, cut, secured, drilled, hammered, nailed, screwed, recut, glued an eclectic collection of pallets into usable seats and tables.

All furniture had to be sanded, varnished, left to dry, resanded and revarnished. Teams pushed to apply at least two coats of Marine Varnish to all surfaces.

Friday afternoon saw the last brush of varnish applied and the teams celebrated with a feast of snacks and drinks.

The group spoke proudly of their teamwork, effort and experience.
Their work lives on.
A shout out to the Grade 7/8 and Foundry Teachers plus TCI support at The Harbour School.
Brilliantly supported all.
Enjoy a collection of shots below.


Large project persistence
I see a crack in the outside roof surface of my boat. And I know it needs to be dug out, filled, primed and painted. And here is a short tale of the next steps and the reality of persistence.
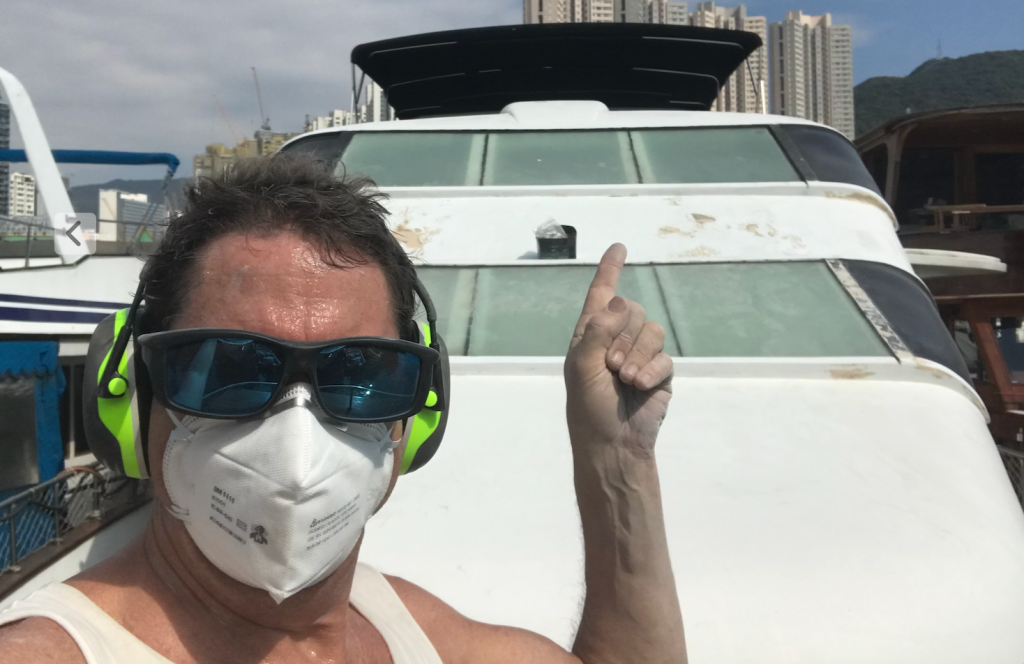
No worries, he says, I’ve done it before, and I can do this again. Bring forth optimism…
So the digging out begins, worryingly leading to more and more of the Gelcoat being removed. OK, I fill it, sand and paint it with International Yacht Primer Coat.

Worrying as the first layer of primer goes on I come to realise that the cracks need to be dug out some more. The outside surface of the vessel gets beaten big time by the elements so it is really important that I complete this job the right way.
And I will.

So I dug it out and the next thing I have is a large gaping wound on the surface.
The reality of repairing this and creating a weatherproof finish is quite daunting, I dig deep, take a few deep breaths – have a cuppa tea, keep calm and carry on.
I could do the filling but know that I am not a very good plasterer, that it’ll take me ages and I’ll do a moderate job. So I requested a plasterer from the Sun Hing Shing shipyard to come and help me do the job.

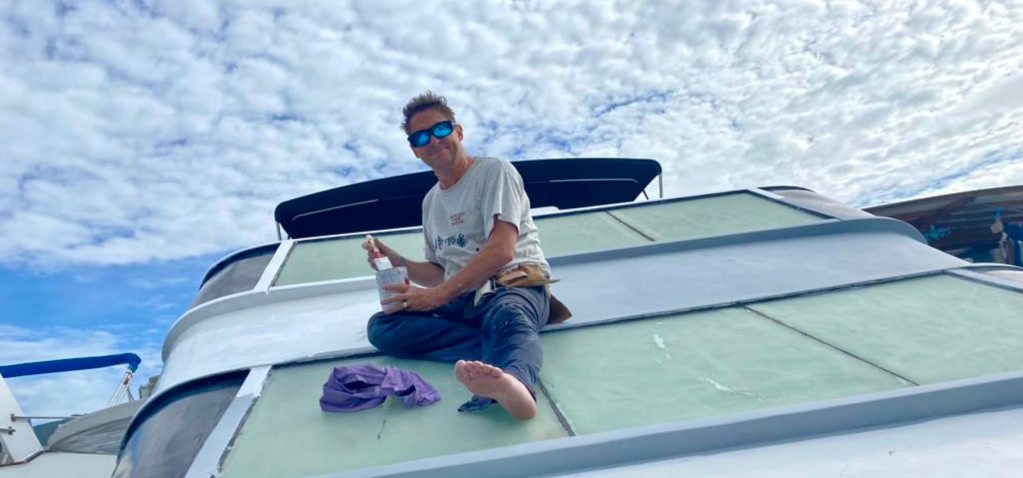
Thanks to the shipyard for helping me get that done. From there it remains a case of sanding to a 400 grit level and then applying the paint. The process requires four layers of International Yacht Primer and then four layers of International Toplac topcoat.

With the need for drying and sanding between layers, it’s almost been a coat a day when possible.
However, Hong Kong’s temperature has dropped to teenage levels and the rain’s been interrupting progress too.
I managed to get the first coat of International Toplac topcoat on just before the Xmas daze.
I will be replacing the window sealant once I get the main area covered. I plan to move from black sealant to white sealant, hoping white will retain less heat.
More to follow.

Servo hands in THS Foundry
The Harbour School’s grade 6 students furthered their awareness of the human hand functions through crafting a team built servo-driven robotic hand.
Aiming toward solidifying a human body system knowledge of the hand, a paper-based version of a moving hand was crafted in paper.
Next step – Scaled and Robotic.

The six-day project boosted their engineering design awareness, constructional technique knowledge & skill, collaborative approach and resilience. All essential to steam towards a successful build.

Students ideated how to replicate a scaled hand, knuckles, tendons and finger sections.
With larger-than-life fingers crafted, the challenge became to connect the fingers to the electronic servos to cause motion. Mr Wouter’s designed Arduino-based multi servo control board activated the servo units.

An extension was available for students to program Microbits to control the Servo units.

Students reacted to the project with smiles on their faces and enthusiasm in their words:
“It was really hard to connect the fingers section together”
“I am pleased that we got all the fingers built”
“There were a lot of challenges but we overcame them”
“It was great fun”

“The measuring and scaling took us a long time”
“The cutting of the fingers was hard”
“I used a lot of hot glue”

It was great to see the students collaboratively focused on developing the finer details of their projects and working together to get the job done.
It’s also refreshing to see the variety of approaches to how one might craft a hand.
Well done to the grade six.

Ukuleles in the Foundry
The Harbour School grade one classes joined The Foundry to venture into the world of constructing a wooden Ukulele.

Each student measured, cut, nailed, attached and decorated the acoustic soundbox before enthusiastically nailing the acoustic soundbox to the rear of the Laser-cut outer body.

It is reassuring to witness grade one students safely use 20-inch wood saw to craft their instrument parts.

This project encouraged connection between constructional tools and techniques, musical instruments & the art of decoration.

The addition of a strap led to parades through the Foundry of the latest rising band – maybe.

We look forward to more.

The Harbour School Foundry – a new adventure
I am excited to have begun a new adventure: working at The Harbour School – Foundry in Hong Kong.

The Harbour School’s Foundry is a purpose-built maker-space – a learning environment designed to encourage students to build, experiment and prototype inventions as they engage deeply in science, technology, engineering, arts and mathematics.

The facility is available for all grades to develop their interests, passions and skills.

The Foundry materials and tools include; wood, acrylic, cardboard, fabric, metals, 3D printers, robotics, electronics, sewing machines, laser cutter, bench saws, routers (including CNCs, drill press, sanding stations, all hand tools imaginable, and more.

I am thankful to work within such a well-resourced workspace.

I have now been at THS for three weeks and have already supported week-long ‘Intensive’ projects with grades one, three, five, plus the recess visitors from all grades. All grades are scheduled to visit throughout the year.

I am excited to see how I can help establish and support even more opportunities for creativity in The Harbour School.

I look forward to it.

Return of the Orange Kayak
Pre-Covid trickery, I was paid an orange Bic ‘Scapa’ sit-on Kayak and paddle. An avenue towards health, strength, wellness and cruising around near the sea. The Kayak became a frequent and enjoyable hobby.

I’m not attempting Military Kayak drills (Sorry Brodie) but have thoroughly enjoyed my outings to date.
Sadly a local Sampan sideswiped the Kayak. The side pressure resulted in the Kayak’s Starboard top centre edge exploding open.

Knowing it would be skirting near danger to use the Kayak in such a condition, I removed it from the water and added a Kayak repair project to my to-do list.
Many years ago whilst teaching technology literacy to HKIS Middle Schoolers, I recall coming across a great video resource that rapped amongst graffiti to how the internet had infinite power to educate.
Enough said: search ‘Plastic Kayak repair’
So I needed to get a Plastic Welding Iron, orange Polyethylene strip, wire mesh. It was surprisingly tricky to pick up a Plastic Welding Iron (not a soldering iron) in a hardware shop.
Of course, the internet saved the day.

Tooled up, I set about repairing the Kayak.
To start, I carefully spot welded the split together, gradually melting the two sides together. With the edges together, I melted a steel mesh across the top ridge and sides. And finally, I welded five twelve-inch by quarter-inch orange Polyethylene plastic strips across the area.

NOTE: take care as you melt the plastic’s together. The plastic will melt away quickly, and you’ll end up with an unwanted hole in the Kayak if you’re not careful.
I must add that I have not spent any time attempting to address cosmetic issues attached to this repair.

With ropes replaced and the hull finely sanded, the Kayak has returned to the sea.
I hope the repair is strong enough to deal with the sea.
I will find out.

